


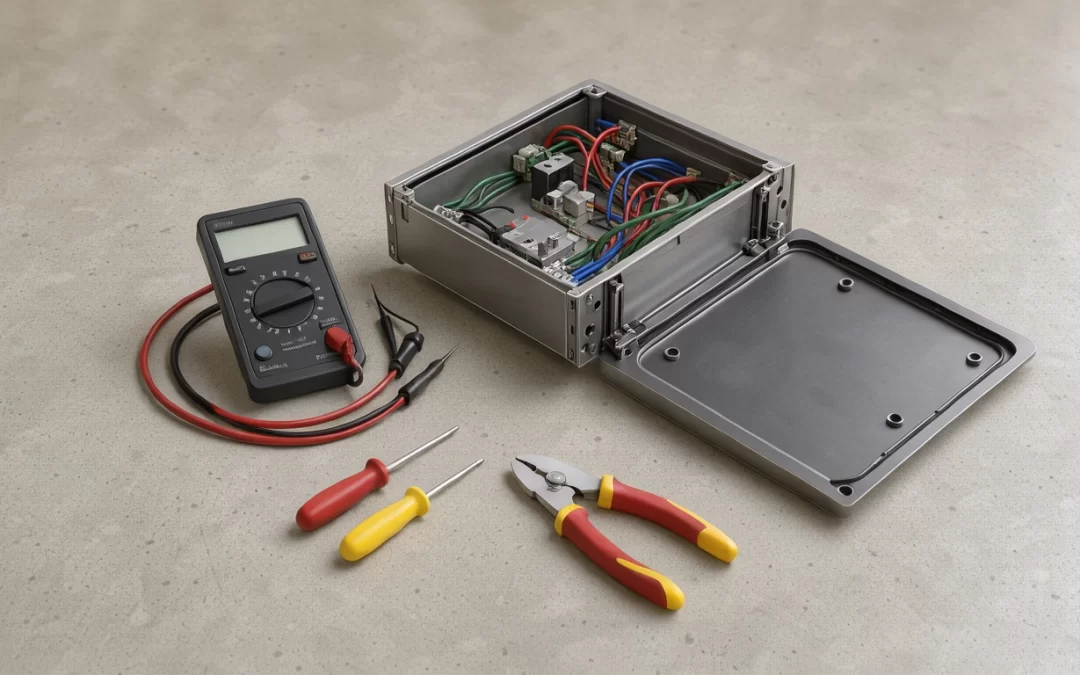
A dryer not heating is typically caused by restricted exhaust airflow, a partially tripped circuit breaker, a blown thermal fuse, or a burned-out heating element. When your appliance spins normally without generating warmth, it usually means the motor circuit is receiving power while the heating circuit has been interrupted by a failed safety sensor or open electrical component. Addressing the problem quickly prevents wasted electricity and eliminates significant household fire hazards.
Safety note: Clothes dryers operate on high-voltage 240-volt electrical circuits or volatile natural gas lines. Always disconnect the dryer from electrical power and shut off the gas supply before inspecting internal components. If you are uncomfortable using a digital multimeter or working around electrical wiring and gas fittings, hire a qualified appliance technician to perform repairs safely.
Why Is My Dryer Blowing Cold Air? Quick Initial Checks
Before disassembling your machine, rule out simple configuration errors. First, confirm that the control panel is not set to an “Air Fluff,” “Ultra Delicate,” or “No Heat” cycle, which runs the blower and drum without energizing the heat source. Second, check your home electrical panel. An electric dryer requires two 120-volt legs to supply 240 volts. If only one breaker pole trips, the dryer drum turns but no heat will generate because the motor operates on 120 volts while the heating coil needs the full 240 volts. Reset both breakers fully to ensure balanced power delivery.
7 Common Causes of a Dryer Not Heating
If simple external checks do not resolve the issue, one of the following mechanical or electrical faults is likely responsible for your cold dryer drum.
1. Restricted Exhaust Vent or Clogged Lint Screen
Severe lint accumulation inside the exhaust ductwork or the internal lint trap is the single most common reason a dryer takes multiple cycles to dry before losing heat entirely. When hot, moist air cannot escape the cabinet, heat builds up rapidly around internal safety sensors. The high-limit thermostat repeatedly cuts power to the burner or heating coil to prevent an appliance fire. Over time, restricted airflow causes premature failure of heating elements and safety switches. Cleaning your exhaust duct from the back of the machine out to the exterior wall vent restores proper airflow and protects internal electronics.
2. Blown Thermal Fuse
The thermal fuse is a critical safety device designed to melt or trip permanently if internal temperatures exceed safe limits. Common blown dryer thermal fuse symptoms include a drum that spins while the heat stays completely off, or on certain modern digital models, a machine that refuses to start at all. Once a thermal fuse blows, it cannot be reset; it must be replaced. A blown fuse almost always points to a secondary issue—usually a vent clogged with lint. Always clear your ductwork when installing a new fuse to prevent the replacement part from failing immediately.
3. Burned-Out Heating Element (Electric Models)
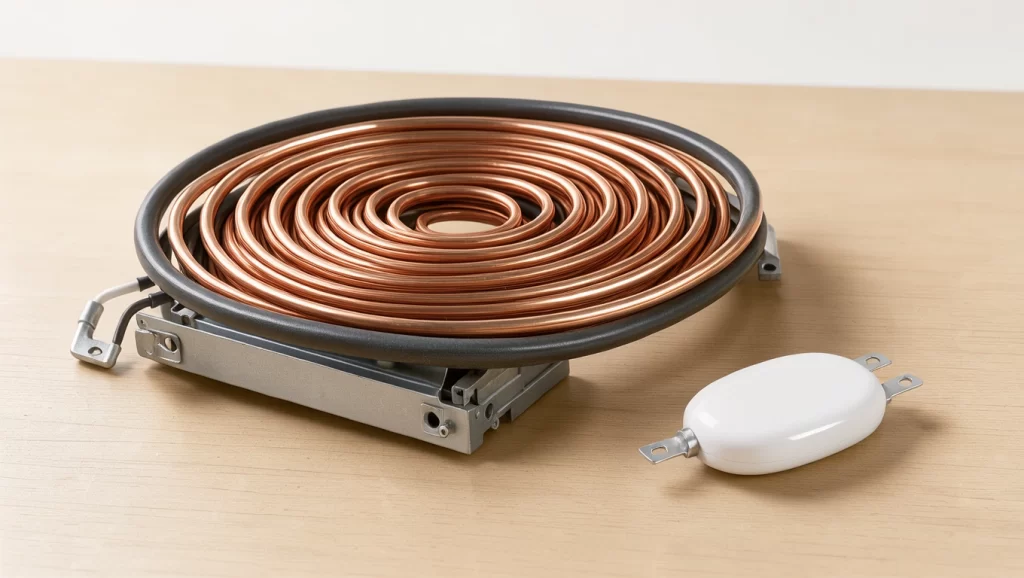
In an electric dryer not getting hot, the heating element itself is often the culprit. The element consists of a coiled nichrome wire housed within a metal casing. Over years of thermal expansion and contraction, the fragile coil can fatigue, snap, or ground out against the metal shielding. You can visually inspect the coil for obvious breaks or black burn marks. A technician or knowledgeable homeowner verifies an open circuit by testing the element terminals for electrical continuity with a multimeter set to the lowest ohms setting. Performing a dryer heating element replacement is a standard DIY fix if you have basic mechanical tools.
4. Defective Gas Valve Solenoid Coils (Gas Models)
When dealing with a gas dryer not heating up, faulty solenoid coils are a frequent problem. In a gas dryer, an electric igniter glows red hot to open the gas safety valve and ignite the burner. The valve coils—often called split coils—work in tandem to hold the valve open once ignition occurs. If the coils weaken, the dryer may ignite properly for the first two or three minutes of a cycle, then shut down as the coils heat up and fail, leaving damp clothes tumbling in unheated air. Replacing both solenoid coils simultaneously resolves this intermittent heating pattern.
5. Faulty Igniter or Flame Sensor
Gas dryers rely on a silicon carbide or silicon nitride igniter to light the gas stream. If the igniter cracks or burns out, it will not reach the temperature required to trigger the radiant flame sensor, preventing the gas valve from releasing fuel. Similarly, if the flame sensor fails to detect the igniter’s heat, it holds the gas valve closed as a safety precaution. If you peer through the lower inspection port and see no orange glow when the cycle starts, either the igniter or the flame sensor requires testing and replacement.
6. Malfunctioning Cycling or High-Limit Thermostat
Dryers utilize cycling thermostats to monitor drum temperature and cycle the heating component on and off to maintain selected fabric settings. A high-limit thermostat acts as a secondary failsafe, cutting current if the cycling thermostat fails. If either thermostat gets stuck in the “open” position due to internal corrosion or electrical arcing, current cannot reach the heating element or gas valve. Testing each thermostat for continuity at room temperature identifies whether the internal contact points have permanently separated.
7. Worn Centrifugal Switch or Faulty Control Board
The electric drive motor contains an internal centrifugal switch that engages once the motor reaches full operating speed. This mechanism ensures that heat cannot turn on unless the drum is spinning and the blower fan is pushing air through the cabinet. If lint contaminates the motor housing or the centrifugal switch contacts wear out, the dryer runs but no heat is produced. In electronically controlled dryers, a burnt relay on the main electronic control board can also stop voltage from traveling to the heating circuit, even if all mechanical sensors test normal.
Dryer Heating Problems: DIY vs. Professional Repair
Use the following comparison table to assess whether your dryer’s heating issue can be safely tackled at home or requires licensed repair support:
| Suspected Cause | Appliance Type | DIY Feasibility | Safety Risk Level | Recommended Action |
|---|---|---|---|---|
| Tripped Breaker | Electric | Easy | Low | Reset double-pole breaker fully. |
| Clogged Vent Duct | Gas & Electric | Moderate | Low to Moderate | Clean ductwork with rotary brush kit. |
| Blown Thermal Fuse | Gas & Electric | Moderate | Moderate (Electrical) | Test continuity; replace fuse and clear vents. |
| Broken Heating Element | Electric | Moderate | Moderate (Electrical) | Test coil resistance; replace element assembly. |
| Failed Gas Valve Coils | Gas | Advanced | High (Gas & Fumes) | Replace dual solenoid coil set. |
| Cracked Gas Igniter | Gas | Advanced | High (Gas & Fire) | Test resistance; install replacement igniter. |
| Damaged Motor Switch | Gas & Electric | Difficult | Moderate to High | Clean motor assembly or replace drive motor. |
Diagnostic Steps to Troubleshoot a Cold Dryer
To safely isolate the component causing the failure, follow this structured diagnostic sequence:
- Isolate power and gas: Unplug the dryer cord from the wall receptacle. For gas models, turn the manual shutoff valve perpendicular to the supply pipe.
- Inspect and clear the exhaust path: Detach the flexible transition duct behind the machine. Vacuum accumulated lint from the blower housing outlet and verify that the outdoor vent flap opens freely. Regular attention to these areas is part of essential tips for dryer repair that prevent premature hardware failure.
- Access the heating chamber: Remove the rear access panel or the lower front kickplate, depending on whether your dryer is a front-load or top-load design.
- Conduct continuity checks: Set a digital multimeter to the lowest ohms setting (Ω) or continuity mode. Disconnect at least one wire lead from the component you are testing to prevent false readings through adjacent wiring. Place one probe on each terminal:
- Thermal fuse: Should read near 0 ohms (closed circuit). Infinite resistance indicates a blown fuse.
- Heating element: Should typically measure between 10 and 50 ohms. An infinite reading indicates an open, broken coil.
- Thermostats: Should read near 0 ohms at ambient room temperature.
- Examine the wiring harness: Check for discolored wire insulation, melted plastic terminal spade connectors, or loose grounding screws near high-heat zones.
Preventative Maintenance and When to Hire Help
The vast majority of heating failures originate from restricted airflow that overheats internal components. Clean your lint filter after every load, wash the screen with warm water and detergent every six months to remove invisible fabric softener film, and hire a professional duct cleaning service annually if your exhaust run is long or has multiple 90-degree elbows.
While replacing a thermal fuse or heating element is manageable for handy homeowners, complex electrical issues, motor replacements, and gas burner repairs demand professional expertise. If you smell natural gas, observe scorch marks on internal wiring harnesses, or cannot locate the electrical fault with a multimeter, review guidelines on when to call a professional to protect your home from unnecessary safety hazards.
Frequently Asked Questions
Why does my dryer get warm but not hot enough to dry clothes?
When a dryer produces weak heat, the most common reason is restricted airflow caused by a lint-packed exhaust duct, which triggers the high-limit thermostat to turn off the heating element prematurely. On gas dryers, failing gas valve coils can cause the burner to shut off after a few minutes of operation, leaving the machine warm but unable to dry clothes.
Can a dryer run if the thermal fuse is blown?
Yes, on many electric dryer brands—most notably Whirlpool, Kenmore, and Maytag—the drive motor continues to spin the drum even after the thermal fuse has blown, but the circuit supplying power to the heating element remains disconnected. On other models, particularly many electronic Samsung and LG dryers, a blown fuse prevents the machine from running at all.
How much does it cost to fix a dryer that is not heating?
If you repair the appliance yourself, replacement parts such as thermal fuses, thermostats, or heating elements generally cost between $15 and $80. If you hire a licensed appliance repair technician, total service costs typically range between $150 and $350, covering diagnostics, labor, and standard replacement parts.
How do I know if my dryer heating element is burned out?
The most definitive method is an electrical continuity test using a multimeter. After unplugging the dryer and removing the element’s wire leads, touch the test probes to the element terminals; a display showing infinite resistance or no continuity confirms a burned-out coil. A visual inspection will also frequently reveal a severed wire or dark scorch marks along the ceramic insulators.
Conclusion
Dealing with a dryer that spins without heat is frustrating, but systematically checking the power supply, exhaust airflow, and safety sensors usually reveals the culprit. By addressing airflow restrictions promptly and replacing worn components with verified manufacturer parts, you can restore fast drying times and safeguard your home against preventable appliance hazards.